
Use the bulk import to create offices and assign advisors and Advisor Marketing Administrators at the same time.
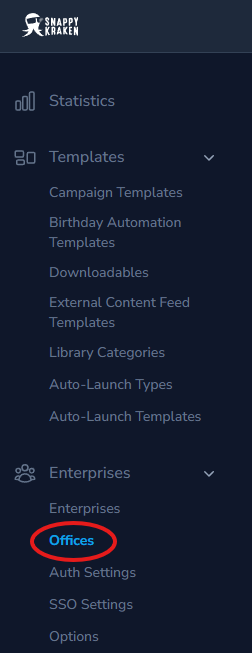
- Select Office from the left-side menu.
- From the Offices list, select Import offices and assignments (CSV).

Select the Enterprise (Fleet) that the file applies to.
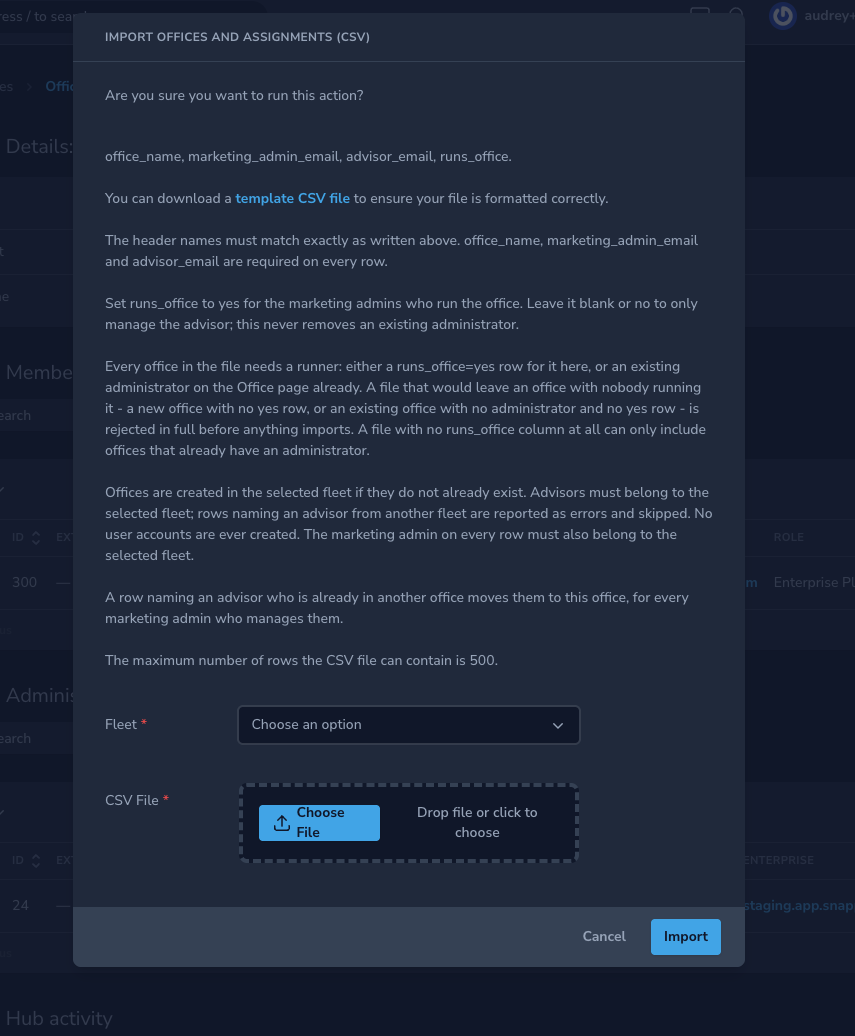
Upload a CSV with the following headers in this order:
office_name,marketing_admin_email,advisor_email, and the optionalruns_office.Set
runs_office=yesto make the Advisor Marketing Administrator an Office Administrator for the office. Leave it blank or enternoto assign the advisor without granting Office Administrator access.Confirm that every office will have at least one Office Administrator after the import.
Select Import to complete the process.
The import runs in the background. When it is complete, you receive a notification with a results file that includes the original columns plus status and details for each row.
CSV requirements
- Use the exact header spelling and order.
- Set
runs_officeto onlyyes,no, or blank. - Only an Advisor Marketing Administrator with Office Hub access can be set to
runs_office=yes. - Each office must have at least one administrator before the import can be completed.
- Each file can contain a maximum of 500 data rows.